Guides and Tutorials
How to use Merge Modules in an Installer
It is getting more common that a client will have more than one application that uses Codejock components. Using the new merge modules you will not have to think about installing, registering, uninstalling, or deleting Codejock components. The merge modules do all of this for you!
Codejock merge modules are used to package the OCX files because they might be shared between multiple applications if the client uses more than one application with Codejock Components. Merge modules mainly help with un-installation. By using a merge module you can be sure that your application will not break another when your application is uninstalled.
In this tutorial we will be creating an installer for the CommandBars RibbonSample.
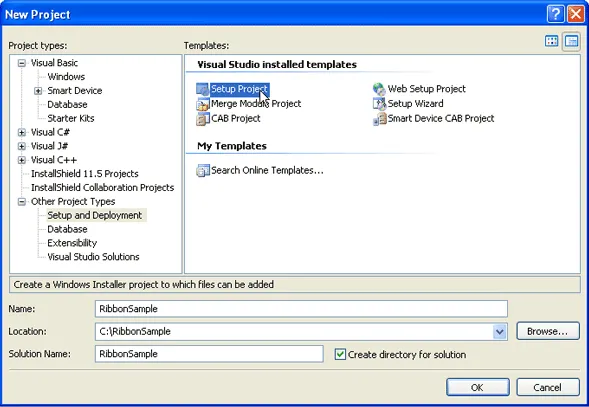
1. To start, open up Visual Studio 2005 and create a new Setup Project. Type in RibbonSample for the name and C:\RibbonSample for the location. Then click the OK button:
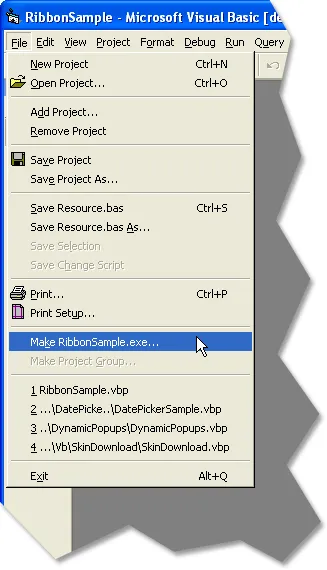
2. Create an exe for your application if you have not already done so. It does not matter which version of Visual Studio you have created your application in. For our tutorial open up the Visual Basic 6.0 CommandBars RibbonSample and make an exe:
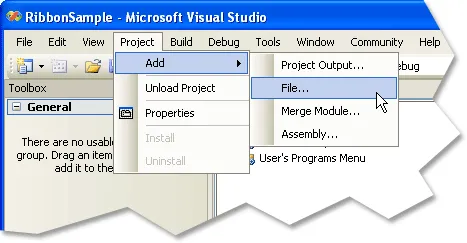
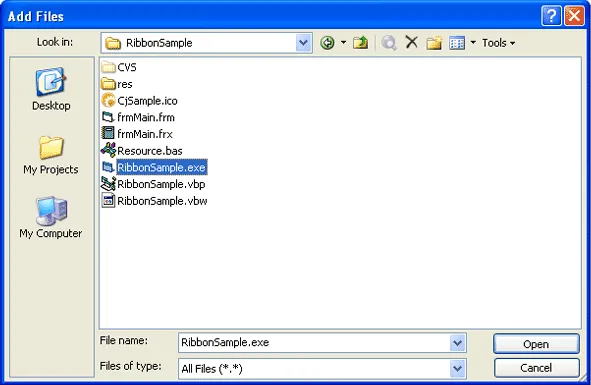
3. Now add the RibbonSample.exe file to your setup project by selecting Project->Add->File... from the menu bar:
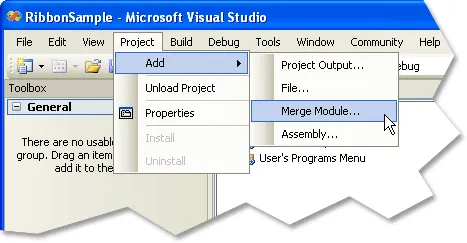
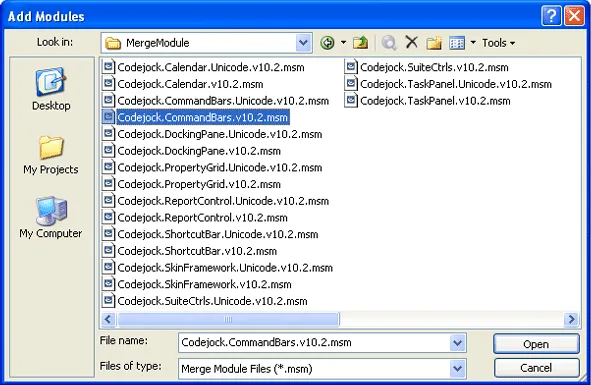
4. Now add the Codejock.CommandBars.v10.2.msm merge module file to your setup project by selecting Project->Add->Merge Module... from the menu bar, the merge modules are located in the C:\Program Files\Codejock Software\ActiveX\Suite Pro ActiveX 2006 Q2\bin\MergeModule folder by default:
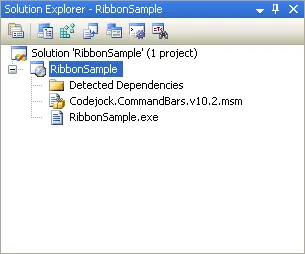
5. Now your Solution Explorer should look like this:
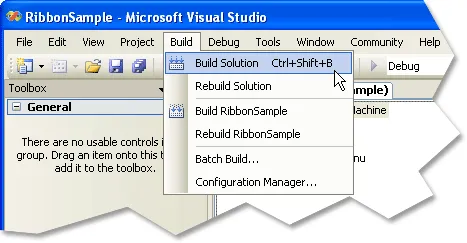
6. Now build the Setup Project by selecting Build->Build Solution from the menu bar:
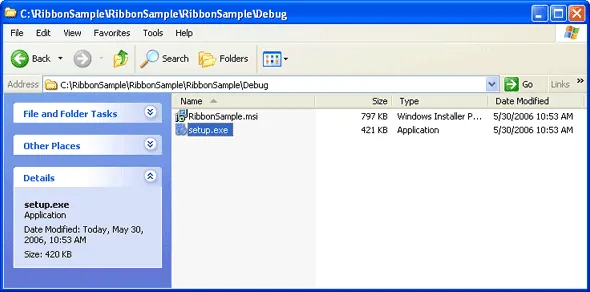
7. You should now have an installer for the RibbonSample. The setup.exe file was created in the C:\RibbonSample\RibbonSample\RibbonSample\Debug folder:
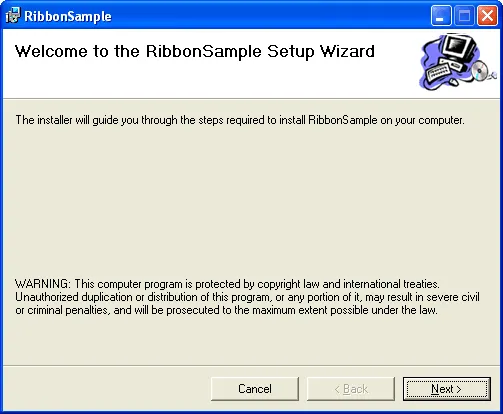
8. You are now ready to install the RibbonSample:
User Comments
No comments yet, sign in to comment.